How To
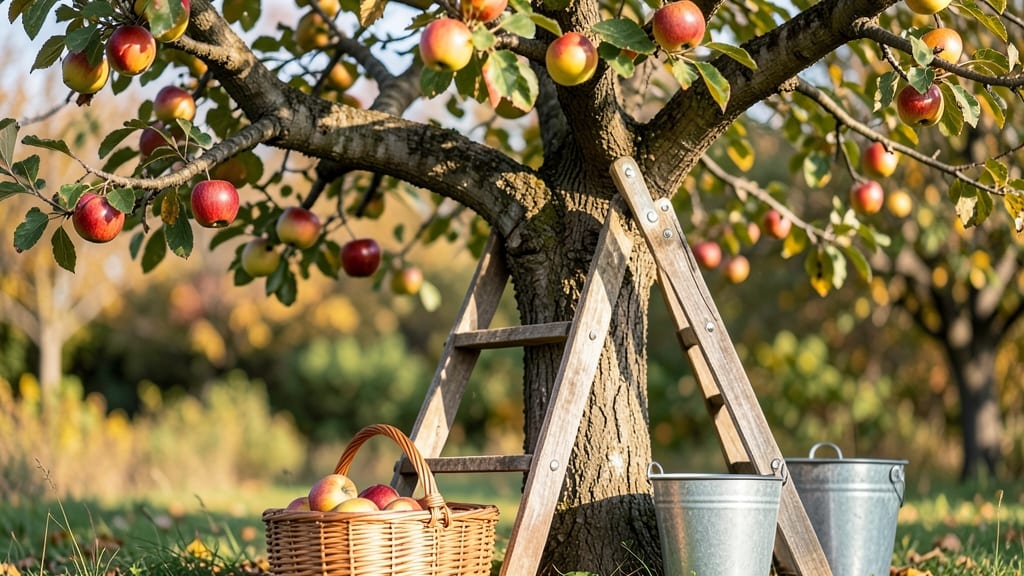
Picking apples from your tree at the right time ensures peak flavor, crisp texture, and longer storage life—miss it, and you’ll end up with mealy fruit or wasted effort.
Harvesting too early means sacrificing sweetness, while waiting too long risks dropping fruit to the ground. The key is knowing the 5 telltale signs of ripeness—and how your local climate tweaks that timeline.
From color changes to the "thumb test," I’ll walk you through how to check your 🍏 apples like a pro, plus how variety and weather affect the perfect harvest window.
Whether you’re growing Fuji in Zone 6a or Granny Smiths in a warmer region, these tips will help you time your pick for the juiciest, most satisfying apples of the season.


5 Visual and physical signs your apples are ready to harvest
Knowing exactly when to pick apples from tree transforms a simple harvest into a rewarding experience. Overripe fruit loses flavor and storage potential, while underripe apples lack sweetness and texture.
The key lies in observing 5 clear visual and physical signs that your apples have reached peak ripeness—without damaging the fruit or the tree.
Unlike many fruits that ripen off the vine, apples do not continue ripening once picked. This means timing is everything. A single misjudgment can mean the difference between crisp, sweet apples and mealy, bland ones.
I’ve learned the hard way that rushing the harvest leads to disappointment, so I now rely on these 5 foolproof indicators to ensure I pick at the perfect moment.
🍎 5 Signs Your Apples Are Ready to Harvest
-
1. Color Reaches Full Maturity
Compare apples to their variety’s standard hue—Fuji turns deep red, Granny Smith brightens to green, and Gala develops golden stripes. -
2. Skin Resists Gentle Thumbnail Pressure
Press your thumbnail into the skin—if it doesn’t dent, the apple is firm and ready. A dent means it’s too soft. -
3. Stem Separates Cleanly with a Twist
Grasp the fruit and twist gently—if the stem snaps at the base, it’s ripe. If it resists or tears, wait a few days. -
4. Fruit Feels Heavy for Its Size
Hold an apple in your hand—ripe apples are denser and heavier than underripe ones of the same size. -
5. No Further Size Increase
Measure apples weekly—when growth stops and they maintain their size for 7–10 days, they’re fully mature.
Let’s start with the most obvious sign: color change. Apples develop their mature hue as they ripen, but this isn’t always a straightforward green-to-red transition. For example, Honeycrisp apples turn a vibrant yellow with red blush, while Braeburn develops a deep red over its green base.
I always cross-reference my apples with variety-specific color guides to avoid mistakes—especially with heirloom or less common types.
Next, skin firmness is a game-changer for storage quality. Overripe apples bruise easily, while underripe ones are rock-hard. To test without damaging the fruit, gently press your thumbnail into the skin.
If it springs back without leaving a dent, the apple is perfect. I’ve found that morning harvests often yield firmer fruit because cooler temperatures reduce bruising during picking.
The stem separation test is my go-to for confirming ripeness. When an apple is ready, the stem should break cleanly at the base with a slight twist—no tugging required. This indicates the fruit’s natural abscission layer has fully developed, making harvest stress-free.
If the stem resists or tears, the apple needs more time on the tree. I always test 3–5 apples from different branches to account for uneven ripening.
Don’t overlook the weight test, which reveals internal density. Ripe apples feel surprisingly heavy for their size because their starches convert to sugars. To compare, hold a ripe apple alongside an underripe one—you’ll notice the difference immediately.
This method is especially useful for storage varieties like Jonathan or Winesap, which need maximum density to last through winter.
Finally, growth cessation is the ultimate confirmation. Apples stop growing 2–4 weeks before they’re ready to pick. To track this, I measure a sample of apples weekly using a tape measure or caliper.
Once their size stabilizes for a full week, I know they’re nearing harvest. This step is critical for late-season varieties, which may ripen unevenly due to temperature fluctuations.
Pro tip: Combine these signs with your local climate. In cooler regions, apples may ripen later, while warmer areas can see earlier harvests. I always check my USDA hardiness zone and adjust my timeline accordingly—especially for heirloom varieties, which can be finicky about timing.
🍏
How to avoid common mistakes that ruin apple harvest timing
Picking apples at the wrong time can turn your homegrown harvest into a disappointing pile of mealy fruit or wasted effort. Many gardeners make the mistake of harvesting too early for sweetness or too late for storage potential, both of which affect flavor and even tree health.
The key is understanding the subtle cues your tree provides—and avoiding these five critical mistakes that ruin timing every year.
One of the biggest errors is relying on calendar dates alone. While most apples ripen between late summer and fall, exact timing depends on your climate zone and the specific apple variety.
For example, Fuji apples may need 120 days to mature, while Granny Smiths can take 150 days. Without accounting for these differences, you risk picking too soon or leaving fruit on the tree too long.
Early harvest risks: Underdeveloped flavor, poor storage life, and wasted fruit.
Late harvest risks: Overripe fruit attracts pests, rots on the tree, and harms next year’s crop.
Pro Tip: Test one apple weekly starting 2-3 weeks before expected harvest to avoid these mistakes.
Another common mistake is ignoring the stem test, which is the most reliable way to check ripeness. A ripe apple’s stem should separate cleanly with a slight twist—if it resists or tears, the fruit isn’t ready.
Many gardeners also overlook skin texture, assuming color alone determines ripeness. However, a dull or waxy sheen on the skin often signals maturity, while a glossy finish means more time on the tree is needed.
Climate plays a huge role in harvest timing, too. In cooler regions, apples may ripen later due to slower growth, while hotter climates can accelerate ripening.
For instance, a Honeycrisp in Zone 5 might be ready in early October, but the same variety in Zone 8 could ripen by late September. Always adjust your expectations based on your local last frost date and average temperatures.
Finally, never skip the taste test on a few apples before committing to a full harvest. A ripe apple should be firm but yielding to gentle pressure, with a balanced mix of sweetness and tartness.
If the fruit tastes bland or overly tart, it’s not ready. Waiting just one more week can make all the difference in flavor and storage quality.
By avoiding these common mistakes—like relying on dates, ignoring stem tests, or overlooking climate—you’ll ensure your apples are harvested at their peak. The result? Juicier, sweeter fruit that stores well and keeps your tree healthy for years to come. 🍏✂️