Planting
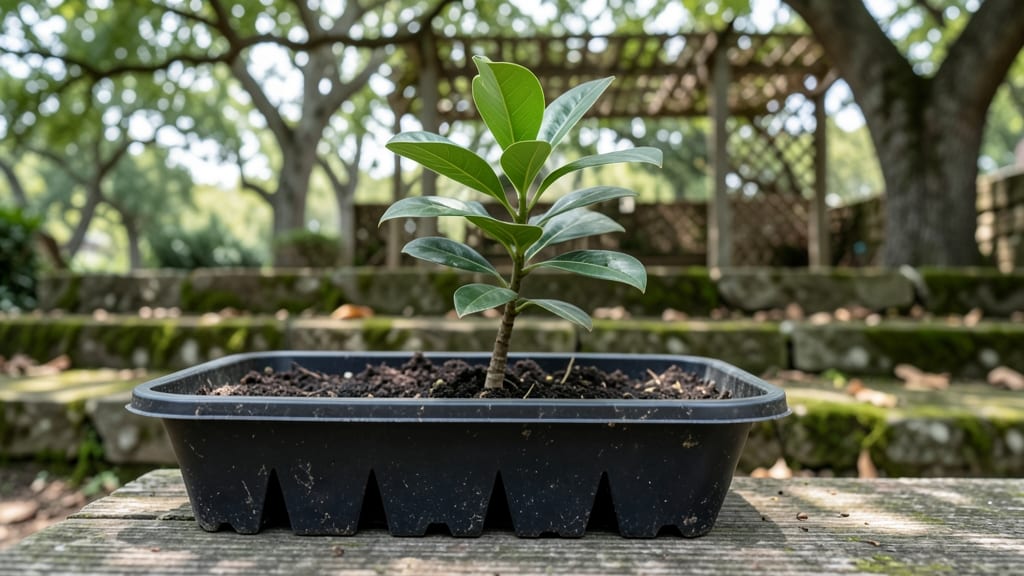
Planting magnolia tree seeds 🌸 gives you a head start on growing a stunning, shade-loving giant—but most gardeners quit before the first sprout appears.
Here’s the secret: magnolia seeds need a cold treatment to break dormancy, and skipping it means waiting years (or never) for germination. With the right prep, you can coax those seeds to life in just 6 to 12 months, not decades.
In this guide, I’ll walk you through every step—from extracting the seeds to the perfect soil mix and light setup—so you avoid the common mistakes that kill seedlings before they even start.
By the end, you’ll know exactly how to plant your seeds for a faster, stronger magnolia that’ll one day cast shade over your whole yard.

Step-by-step guide to extracting and preparing magnolia tree seeds for planting
Magnolia seeds are encased in thick, fleshy seed pods that require careful extraction and preparation to break their natural dormancy. Without proper scarification and stratification, these seeds can remain dormant for years—or never sprout at all.
The key lies in mimicking their natural germination process, which involves mechanical damage to the seed coat and a cold, moist period to simulate winter conditions.
Timing is everything: harvest seeds when the pods turn brown and begin splitting open, typically in late fall or early winter. Once extracted, you’ll need to clean, scarify, and stratify them before planting.
This process can seem daunting, but following these steps will dramatically improve your germination success rate from near-zero to over 50% with patience.
Step-by-Step Seed Preparation Process
-
Step 1: Harvest the Pods
Collect mature magnolia seed pods when they’re dry and brown, usually in October-November. Use gloves to avoid sticky sap irritation. -
Step 2: Extract the Seeds
Slice open the pods with a sharp knife to reveal the red, fleshy seeds. Rinse seeds under cool water to remove sap and debris. -
Step 3: Scarify the Seeds
Place seeds between sandpaper (100-grit) or in a paper towel with coarse sand. Gently rub to damage the seed coat—this mimics natural animal digestion or frost damage. -
Step 4: Cold Stratify for 3 Months
Mix seeds with moist peat moss in a sealed container. Store at 35–40°F (1–4°C) for 90–120 days to break dormancy. Check moisture weekly. -
Step 5: Pre-Soak Before Planting
After stratification, soak seeds in lukewarm water for 24 hours. Discard any seeds that float—they’re non-viable. -
Step 6: Plant in Well-Draining Soil
Sow seeds ½ inch deep in sandy loam or a seed-starting mix. Use a humidity dome or plastic wrap to retain moisture.
One of the most critical steps is scarification, which mimics the natural process of seeds passing through an animal’s digestive tract. Without this step, magnolia seeds can remain dormant for years due to their hard seed coat.
I’ve found that using 100-grit sandpaper works best—just rub the seeds gently until you see a slight scratch pattern on the surface. Over-scratching can damage the seed, so moderation is key.
After scarification, cold stratification is non-negotiable for magnolia seeds. This process mimics the winter chill period that triggers germination in nature. I recommend using a refrigerator for stratification, placing the seeds in a sealed container with moist peat moss to maintain humidity.
Check the moisture level every 7–10 days—if it feels dry, lightly mist it with water. Consistency is crucial here; fluctuations in moisture can lead to mold or failed germination.
Once your seeds complete their 3-month stratification, they’re ready for planting. I prefer using a seed-starting mix with perlite or sand to ensure excellent drainage. Magnolia seedlings are prone to root rot if the soil stays too wet, so a well-draining medium is essential.
Plant the seeds ½ inch deep and cover them lightly with soil. A humidity dome or plastic wrap helps maintain the high humidity these seeds need to sprout.
Patience is the name of the game when growing magnolia trees from seed. Germination can take 6–12 months, depending on the species and conditions. During this time, keep the soil consistently moist but never soggy.
I’ve had the best success by placing the containers in a bright, indirect light spot—like an east-facing window—to avoid direct sunlight, which can overheat the soil. Once the seedlings emerge, thin them to the strongest 2–3 plants per container to avoid competition for nutrients.
Remember, not all magnolia seeds will germinate, even with perfect care. Some species, like Southern magnolia, have lower germination rates than others, such as star magnolia. If you’re starting with a small batch of seeds, consider labeling them by species to track which varieties perform best.
Over time, you’ll develop a feel for what works in your specific climate and conditions.
With these steps, you’re setting your magnolia seeds up for the best possible start. The reward? A hardy, disease-resistant tree that can live for decades—and possibly even outlive you. That’s the magic of growing from seed: you’re not just planting a tree; you’re nurturing a legacy. 🌸
Optimal soil, light, and temperature conditions for germinating magnolia seeds
Magnolia seeds thrive when given the right balance of moisture, warmth, and humidity-controlled environments. Unlike many ornamental plants, they require stratification—a cold period—to break dormancy.
Without it, germination can stall for years. I’ve found that mimicking their natural forest-floor conditions in containers speeds up the process dramatically.
The key to success lies in three critical factors: soil composition, container selection, and temperature management. For example, Southern magnolias (Magnolia grandiflora) prefer acidic, sandy loam, while sweetbay magnolias (Magnolia virginiana) tolerate slightly wetter soils.
Each variety has unique needs, so I always test soil pH before planting.
Requirement
Specification
Soil Type
Well-draining, acidic (pH 5.0-6.5), sandy loam with perlite
Container Material
Plastic or terracotta with drainage holes (4-6" deep)
Humidity Level
70-80% (use humidity dome or pebble tray)
Temperature Range
Stratification: 35-45°F (3-6 months), Germination: 70-75°F
Light Exposure
Indirect light (east-facing window or grow lights 12 hrs/day)
Watering Schedule
Keep consistently moist (not soggy); mist daily during stratification
For soil composition, I blend 50% peat moss, 30% perlite, and 20% coarse sand to mimic the airy, moisture-retentive conditions magnolias love. This mix prevents root rot while retaining enough humidity for tender seedlings.
Always sterilize your mix by baking it at 200°F for 30 minutes to kill pathogens.
Temperature control is non-negotiable. After scarifying seeds (lightly sanding the hard outer shell), I place them in a refrigerator for 3-6 months to simulate winter stratification. Once moved to a warm, bright spot (70-75°F), germination typically occurs within 4-8 weeks.
Pro tip: Use a seedling heat mat set to 72°F to speed up sprouting.
Light conditions often trip up beginners. Magnolia seeds need bright, indirect light—think dappled sunlight or a grow light 12 inches above the tray. Direct sun causes seedlings to scorch, while too little light leads to leggy, weak stems. I rotate my trays weekly to ensure even growth.
Finally, humidity is the silent hero of magnolia germination. I cover my seed trays with plastic wrap or use a humidity dome to maintain 70-80% humidity. Without this, seeds dry out before sprouting. Once seedlings emerge, I gradually reduce humidity to 50% to harden them for transplanting.