How To
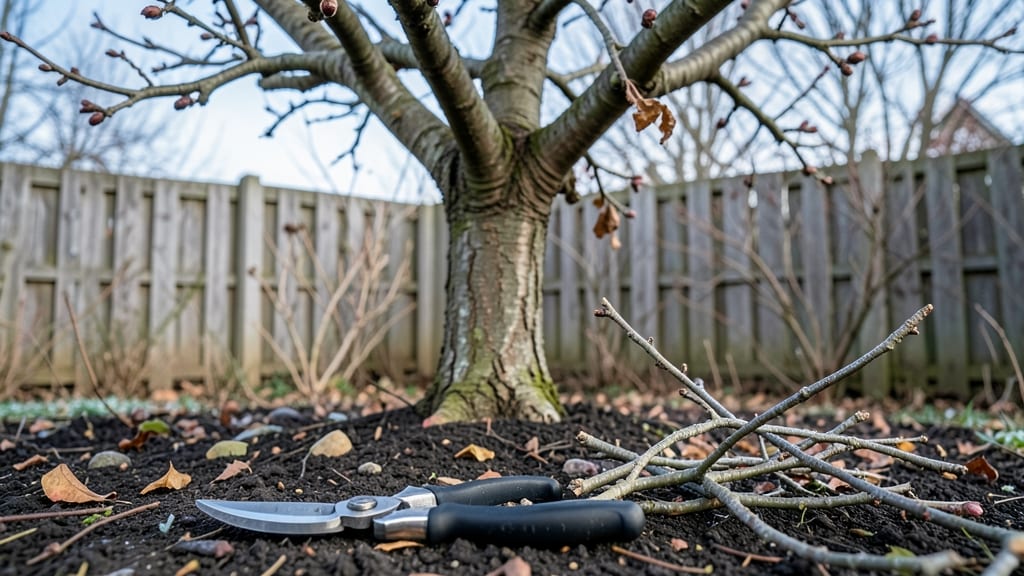
Pruning apple trees transforms your orchard from a tangled mess into a fruit-producing powerhouse. 🌱 I’ve spent years watching neglected branches choke out healthy growth—until I learned the right cuts at the right time.
The difference between a tree loaded with apples and one struggling to fruit often comes down to a few sharp cuts made with purpose.
You’ll need just three tools: clean pruning shears for small branches, loppers for thicker limbs, and a pruning saw for anything bigger than your wrist. Timing matters too—dormant pruning in late winter shapes the tree’s structure, while summer pruning opens up airflow to prevent disease.
Even a small apple tree can yield hundreds of pounds of fruit when pruned correctly, and the process takes less than an hour once you get the hang of it.
📚 In This Guide
- What you need
- Instructions
- Tips and common mistakes
- Wrapping up and next steps
What you need
- ● Pruning shears (bypass pruners) – Sharp, high-quality shears (e.g., Felco or Fiskars) with a 6-8" blade length for clean cuts on smaller branches (up to ½ inch thick). 💡 Pro tip: Test sharpness by cutting a piece of paper—if it tears instead of cuts cleanly, sharpen or replace them!
- ● Loppers – For medium branches (¾ inch to 2 inches thick). Look for bypass-style loppers with a 15-20" handle for leverage.
- ● Pruning saw – For thick branches (2+ inches). A curved-tooth pruning saw prevents tearing wood.
- ● Gloves – Heavy-duty, cut-resistant gloves (e.g., Mechanix or leather gardening gloves) to protect hands from thorns and rough bark.
- ● Disinfectant (70% isopropyl alcohol or bleach solution) – 1 part bleach to 9 parts water to sterilize tools between cuts and prevent disease spread.
- ● Rubbing alcohol or hand sanitizer – For cleaning hands after handling infected branches.
- ○ Tarp or drop cloth – To collect fallen branches and debris (optional but helpful for cleanup).
- ● Ladder or step stool – Sturdy and tall enough to reach higher branches safely (extension ladder for mature trees).
- ● Marking twine or tape – For temporarily marking branches to remove (e.g., colored surveyor’s tape).
- ● First-aid kit – Basic supplies (bandages, antiseptic wipes) for minor cuts or scrapes.
- ● Pole saw or pruning pole – For high branches without a ladder (e.g., Fiskars X7).
- ● Tree wound dressing – Controversial but some gardeners use it for large cuts (e.g., Tanglefoot Tree Wound Pruning Seal). 💡 Note: Many experts argue against using it—let cuts heal naturally!
- ● Work boots with ankle support – For stability on uneven ground.
- ● Sunscreen and hat – If pruning on a sunny day!
Step-by-Step instructions for pruning apple trees
Pruning isn't just about shaping—it's the secret to better fruit and fewer pests. Here's how to do it right, season by season.
✂️ Step 1: Prune in Late Winter for Structure
Start your work when the tree is dormant but before buds swell—typically in late February or early March. This timing prevents disease spread and lets you see the tree's structure clearly. I always begin by removing dead, diseased, or crossing branches first. These are your "four Ds": dead, dying, diseased, and damaged.
Use sharp pruning shears to make clean cuts just outside the branch collar—the swollen area where the branch meets the trunk. Avoid leaving stubs, as they invite rot and disease. If a branch is larger than ½ inch thick, use a pruning saw instead. This first cut sets the foundation for healthy growth all season.
☀️ Step 2: Thin Out Branches for Better Airflow
Next, focus on thinning the canopy to let sunlight and air reach the center of the tree. Remove branches that grow inward or rub against each other—these compete for resources and create entry points for pests. Aim to keep the tree's shape open, like an umbrella, with branches spaced 8-12 inches apart.
I look for branches that grow straight up or downward; these often become weak and break under fruit weight. Cut these back to a strong outward-growing branch. Never remove more than 25% of the tree's foliage in one session—this stresses the tree and reduces fruit production. Watch for new growth after pruning; healthy branches will sprout fresh green leaves within a few weeks.
🌿 Step 3: Light Pruning in Summer for Fruit Quality
After the initial winter prune, do a lighter cleanup in late June or early July—just as new growth begins. This is when you address "water sprouts" (fast-growing vertical shoots) and suckers (shoots growing from the base). These compete with fruit-bearing branches and weaken the tree.
Use hand pruners to trim these back to a leaf bud or side branch. Avoid heavy pruning now, as it can stimulate too much new growth that won’t harden off before winter. Instead, focus on shaping and removing only the most aggressive growth. You’ll notice fewer suckers next season if you stay on top of them now.
⏰ Step 4: Final Cleanup in Early Fall
In early fall, do a final light prune to remove any branches that grew too vigorously during the summer. This keeps the tree from overloading with fruit and prevents winter damage. Cut back any branches that look weak or diseased—these are easy to spot now that the tree is in full leaf.
Rake up and dispose of all pruned branches and leaves to reduce disease risk. Never leave clippings on the ground, as they can harbor fungal spores. A quick cleanup now means fewer problems next spring. Your tree will thank you with stronger branches and better fruit production come harvest time.
Tips & tricks for perfect apple tree pruning
These simple tricks will help you prune like a pro and keep your apple trees thriving for years to come.
Timing is Everything: The late February to early March window for Step 1 is crucial because it's when trees are fully dormant but before buds begin to swell. This timing prevents disease spread and lets you see the tree's structure clearly. If you miss this window, wait until early summer—but avoid pruning in late summer or fall, as new growth won't harden off before winter. I've learned this the hard way after seeing new cuts freeze-damaged in colder climates.
Branch Collar Matters: When making cuts in Step 1, always target just outside the branch collar—the swollen area where the branch meets the trunk. This is where healing tissues form. I can't stress enough how important this is—leaving stubs invites rot and disease. For branches thicker than ½ inch, use a pruning saw and make the cut at a 45-degree angle to prevent water from pooling on the wound.
The 25% Rule: Never remove more than 25% of the tree's foliage in one session, as mentioned in Step 2. This rule prevents stressing the tree and reduces fruit production. For young trees, you might only remove 10-15% in the first year. I've seen gardeners over-prune and end up with trees that struggle to recover. Think of pruning like a haircut—you want to shape, not shave!
Seasonal Maintenance: The summer and fall pruning steps are often overlooked but just as important. In late June or early July (Step 3), focus on removing only the most aggressive growth—water sprouts and suckers. In early fall (Step 4), do a final light cleanup to prevent winter damage. I schedule these as reminders on my phone so I don't forget these crucial maintenance steps.
Pro Tips for Prune Apple Tree
- These simple tricks will help you prune like a pro and keep your apple trees thriving for years to come.
- Timing is Everything: The late February to early March window for Step 1 is crucial because it's when trees are fully...
- Branch Collar Matters: When making cuts in Step 1, always target just outside the branch collar—the swollen area wher...
Frequently asked questions
Got questions about pruning apple trees? You’re not alone! Here are some of the most common concerns—plus straightforward answers to keep your tree thriving.
When is the best time to prune an apple tree?
For most apple trees, late winter or early spring (just before buds swell) is ideal. This minimizes disease risk and lets you see the tree’s structure clearly. Exception: Light pruning can happen in summer to remove water sprouts, but avoid heavy cuts then.
How do I know if I’m pruning too much?
Remove no more than 25% of the tree’s canopy in a single session. Signs of over-pruning include excessive leaf loss, weak growth, or a sudden spike in fruit production (the tree compensates by fruiting heavily). If you’re unsure, start conservatively and observe the tree’s response.
Will pruning reduce my apple harvest?
Not if done correctly! Pruning actually boosts fruit quality and quantity by improving airflow and sunlight exposure. However, avoid heavy pruning during fruiting season—focus on shaping the tree in dormant months. Patience pays off with bigger, tastier apples!
How do I prevent disease after pruning?
Clean your tools with rubbing alcohol or a 10% bleach solution between cuts. Seal larger wounds with pruning sealant (optional but helpful for wet climates). Remove fallen debris promptly, and avoid pruning when the tree is wet to reduce fungal risks like apple scab.
Can I prune an apple tree without shears?
For small branches (up to pencil-thick), hand-pruning with sharp bypass shears is best. Thicker limbs require a pruning saw or loppers. If you’re avoiding tools entirely, you can pinch out new shoots with your fingers, but this is less effective for structural pruning.
Wrapping up and next steps
Pruning your apple tree isn’t just about trimming branches—it’s an investment in healthier fruit, stronger growth, and a bountiful harvest for years to come! 🍏 By following seasonal best practices, using the right tools, and focusing on structure and airflow, you’ll set your tree up for success.
Now that you’re armed with the knowledge, grab those pruners and get to work—your future apple-picking adventures start with this simple step!
💡 Next up: Keep an eye on your tree’s progress and adjust your pruning routine each season. Happy pruning—and may your orchard thrive! 🌱