How To
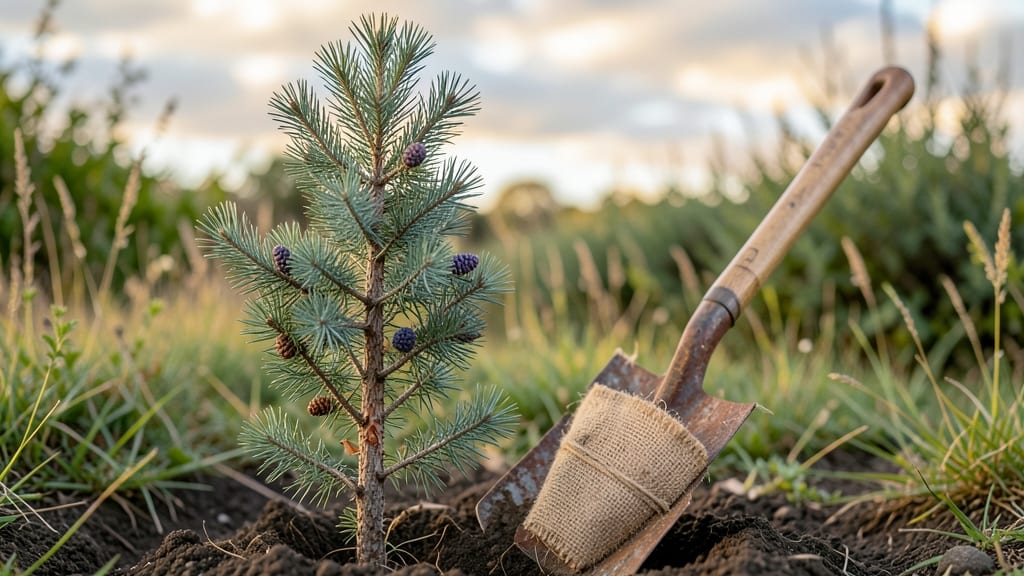
Transplanting cedar trees in late fall or early spring gives them the best shot at thriving. 🌿 I’ve learned the hard way that timing matters—my first attempt in summer left the tree struggling for years. The key is moving when the tree’s energy is focused on roots, not leaves.
You’ll need basic tools: a sharp shovel, burlap, rope, and a wheelbarrow for moving the root ball. Dig a hole twice as wide as the root system but no deeper—cedars hate sitting too low. Water the tree deeply a week before transplanting to help roots stay flexible during the move.
📚 In This Guide
- What you need
- Instructions
- Tips and common mistakes
- Wrapping up and next steps
What you need
- ● Shovel or spade: A sharp, sturdy digging tool (18–24" wide for mature trees, smaller for saplings).
- ● Pruning shears or handsaw: For trimming roots and branches (sterilize blades with rubbing alcohol).
- ● Garden hose or watering can: With a spray nozzle for gentle watering (aim for 1–2 gallons per tree post-transplant).
- ● Burlap or tree transplanting sack: To protect roots during transport (3–4 ft wide, depending on tree size).
- ● Root stimulator or mycorrhizal fungi: Powder or gel to boost root growth (follow package instructions).
- ● Mulch (pine straw, wood chips, or shredded bark): 2–3 inches thick, kept 6" away from the trunk.
- ● Stakes and soft ties: 3–4 stakes (1/2" diameter) and 3–4 ft of stretchy fabric ties for support.
- ● Garden fork or root knife: For teasing apart compacted roots if needed.
- ○ Wheelbarrow or dolly: To move the tree and soil (optional but helpful for large cedars).
- ● Tree transplanting gel: For sealing cut roots and reducing moisture loss.
- ● Soil amendment (compost or peat moss): To improve drainage in heavy clay or sandy soil.
- ● Anti-transpirant spray: To reduce stress on the tree during transplant shock.
- ● Gloves: Heavy-duty work gloves to protect your hands from sap and rough bark.
- ● Measuring tape: To mark planting depth and spacing (cedars need 10–15 ft apart for mature growth).
Step-by-Step instructions for transplanting cedar trees
Transplanting cedars takes patience, but these steps ensure your trees thrive for decades.
🪴 Step 1: Choose the Right Time and Location
Spring or early fall is ideal—cedars hate summer heat or winter cold. Pick a spot with full sun to partial shade and well-draining soil. I always check the mature height and spread (cedars can reach 30-40 feet tall) to ensure it fits the space. Avoid low areas where water pools—cedars rot in soggy soil.
Test the soil by digging a 12-inch deep hole. If it feels compacted or stays wet for days, amend with 2-3 inches of compost mixed into the top 6 inches. Cedar roots are shallow but wide-spreading, so don’t skimp on space—plant at least 10 feet apart for mature trees.
🌱 Step 2: Dig the New Hole and Prepare the Tree
Dig the new hole twice as wide as the root ball but only 1-2 inches deeper—cedars dislike being buried too deep. Loosen the sides of the hole with a shovel to encourage root spread. If transplanting a potted cedar, gently squeeze the sides of the container to loosen roots before removing it.
Trim any broken or circling roots with clean, sharp pruners. I avoid cutting healthy roots unless they’re wrapped tightly around the root ball—cedars handle stress poorly. Water the tree thoroughly the day before transplanting to reduce shock.
💧 Step 3: Transplant and Secure the Tree
Place the cedar in the hole so the top of the root ball sits 1 inch above ground level. Cedar roots are sensitive to suffocation, so don’t bury the trunk. Fill the hole with native soil, tamping lightly every 2 inches to remove air pockets. A sturdy stake helps support the tree if it’s young or top-heavy.
Water deeply until moisture seeps 6 inches down—cedars need consistent moisture for root establishment. Mulch the base with 2-3 inches of wood chips, keeping mulch 6 inches away from the trunk to prevent rot. This keeps roots cool and retains moisture.
☀️ Step 4: Care for the Tree Post-Transplant
Water the cedar twice weekly for the first 2 months, then taper to once weekly once new growth appears. Avoid overhead watering—cedars hate wet foliage, which invites fungal diseases. I use a soaker hose to deliver water directly to the roots.
Fertilize only if the soil is poor—cedars grow slowly and rarely need extra nutrients. If you must fertilize, use a balanced, slow-release fertilizer in early spring. Prune only to remove dead branches; cedars heal poorly from aggressive cuts.
⏰ Step 5: Monitor and Protect Long-Term
Check the tree weekly for signs of stress: yellowing needles, wilting, or sparse growth. These often signal overwatering, underwatering, or root damage. Cedar trees establish roots slowly—give it 1-2 years before expecting full recovery.
Protect young cedars from deer and rabbits with a wire cage or repellent. Mature cedars are tougher, but they still need space to grow. Once established, cedars thrive with minimal care—just water in droughts and prune lightly to maintain shape.
Tips & tricks for perfect cedar tree transplanting
A few simple strategies will help your cedars take root and thrive for decades after transplanting.
Timing is Everything: Spring or early fall is non-negotiable for cedars. I learned this the hard way after transplanting in summer—my trees wilted within weeks. Aim for when temperatures are mild (50-70°F) and avoid frost. Early spring lets roots establish before summer heat, while early fall gives them time to settle before winter dormancy.
The Hole Matters More Than You Think: In Step 2, when digging that hole twice as wide as the root ball, don't skimp on the width. The extra space encourages roots to spread outward rather than circling. I've seen trees struggle when planted in tight holes—they become root-bound and stunted. Loosen the sides with your shovel too; this prevents compaction that can suffocate young roots.
Root Care During Transplanting: That 1-inch above-ground level in Step 3 is crucial—cedar roots are shallow but sensitive. Burying too deep suffocates them, while planting too high leaves them exposed. After transplanting, gently pat down the soil in 2-inch layers to eliminate air pockets that trap moisture and invite rot. A light tamping is all you need; don't compact it like you would for a lawn.
Watering Wisdom for Long-Term Success: The twice-weekly watering in Step 4 is just the beginning. For the first 2 months, check soil moisture by sticking your finger 2 inches down—it should feel damp but not soggy. After that, reduce to weekly watering, but during droughts, increase to twice weekly again. I've had cedars fail from both underwatering and overwatering; consistency is key. A soaker hose is your best friend here—it delivers water directly to roots without wetting the foliage.
Pro Tips for Transplant Cedar Trees
- A few simple strategies will help your cedars take root and thrive for decades after transplanting.
- Timing is Everything: Spring or early fall is non-negotiable for cedars.
- The Hole Matters More Than You Think: In Step 2, when digging that hole twice as wide as the root ball, don't skimp on the width.
Frequently asked questions
Got questions about transplanting cedar trees? You’re not alone! Here are answers to the most common concerns—from timing to troubleshooting—to help you succeed with your cedar transplant project.
What’s the best time of year to transplant cedar trees?
The ideal window is late fall to early spring (November–March) when trees are dormant. Avoid transplanting in extreme heat or drought—cedars struggle with stress during these times. If you must transplant in summer, do it on a cloudy day and keep the soil moist.
How do I know if my cedar tree is healthy enough to transplant?
Look for vibrant green needles, firm branches, and no signs of pest damage (like browning tips or holes). Avoid transplanting if the tree is overcrowded or shows signs of disease (fungus, wilting). A healthy cedar with a well-developed root ball (at least 12–18 inches wide) recovers best.
Can I transplant a cedar tree from my yard to another spot?
Yes! Dig up the tree carefully, keeping the root ball intact (use a shovel or root saw if needed). Water the area 24 hours before transplanting to reduce shock. For large cedars, consider hiring a pro—roots can be fragile, and improper handling may stunt growth.
What should I do if my transplanted cedar turns brown after moving?
Brown needles often signal transplant shock or drought stress. Prune dead branches, mulch the base (2–3 inches deep), and water deeply 2–3 times per week for the first month. Avoid fertilizing immediately—focus on recovery first. If browning persists, check for pests or fungal issues.
Are there any cedar tree alternatives that are easier to transplant?
If cedars seem too finicky, try arborvitae or juniper varieties—they’re hardy and adaptable. For instant privacy, leucothoe or holly shrubs are also transplant-friendly. Just ensure the new spot matches the plant’s sunlight and soil needs!
Wrapping up and next steps
Transplanting cedar trees can feel like a big task, but with the right timing, tools, and care, you’ll set them up for a thriving future. 🌱 Whether you’re relocating a young sapling or an established tree, seasonal planning and gentle handling are your best allies.
Now that you’re equipped with the know-how, take that next step—mark your calendar, gather your crew, and give your cedars the fresh start they deserve!
🌿 Ready to Dig In?
Start small: transplant just one or two trees this season to build confidence. Soon, you’ll be a cedar-transplanting pro, turning your yard into a fragrant, evergreen haven. Happy planting! 🌳