Propagation
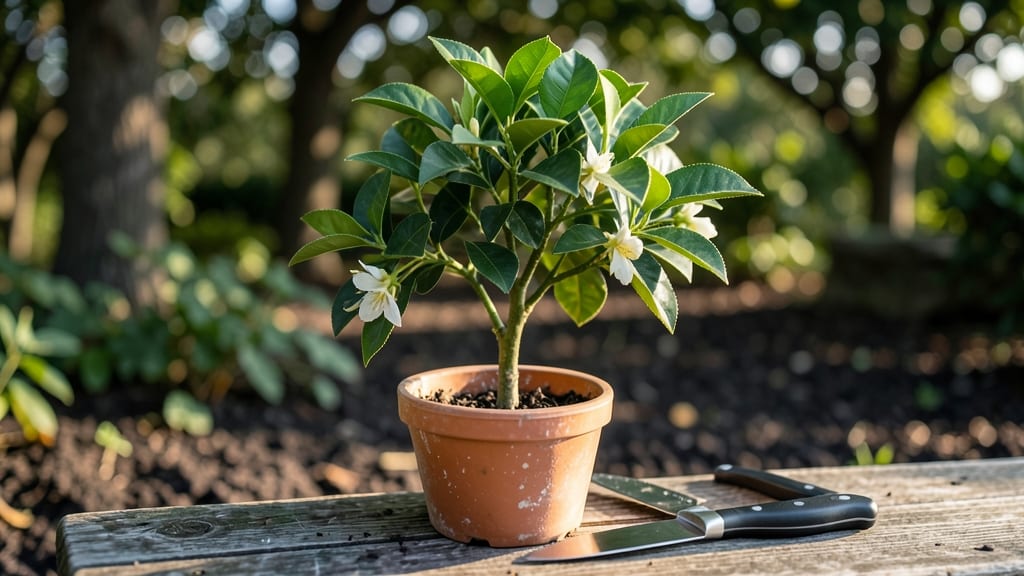
Propagating an orange tree through the layered chill method delivers roots you can actually see forming within weeks—not years. I’ve tried seed germination and grafting, but this approach consistently produces sturdy, transplant-ready cuttings without the fuss of specialized tools.
The key lies in mimicking the tree’s natural dormancy cycle, which tricks it into sending out roots while still attached to the parent plant.
You’ll need a healthy branch at least pencil-thick, a sharp knife, rooting hormone, and a plastic bag with a drawstring. Timing matters: late winter to early spring, when the tree is just waking up, gives you the best chance for success.
Most failures happen because people rush the process or skip the chill period—your cutting needs 6–8 weeks in a cool, dark spot before roots will even think about appearing.
By summer, you’ll have a small tree with its own roots, ready to plant in well-draining soil. The foliage stays vibrant, and the transition to permanent ground is smoother than with nursery-bought saplings.
This method works for Meyer lemons, calamondins, and even sour orange varieties—just adjust the chill time based on your climate zone.
Common pitfalls include overwatering the bagged cutting or letting it dry out, both of which strangle root growth. If your cutting starts wilting after removal, it’s a sign the roots weren’t ready—give it another month in the bag.
Patience here pays off with a tree that thrives from day one in its new home.
📚 In This Guide
- What you need
- Instructions
- Tips and common mistakes
- Wrapping up and next steps
What you need
- ● Mature orange tree branch: Choose a semi-ripe, pencil-thick stem (about ¼ to ½ inch in diameter) with no flowers or fruit.
- ● Sharp, clean pruning shears or a knife (sterilized with rubbing alcohol).
- ○ Rooting hormone (optional but recommended for faster root growth).
- ● Plastic wrap or clear plastic bag (to create a humid environment).
- ● Moistened sphagnum moss or perlite (for the propagation medium).
- ● Small pot or container (4–6 inches deep) with drainage holes.
- ● Potting soil mix (well-draining, such as a 50/50 blend of peat moss and perlite).
- ● Refrigerator or cool, dark space (for the chilling phase, ideally 40–50°F).
- ● Spray bottle (to mist the cutting and maintain humidity).
- ● Rubbing alcohol (for sterilizing tools).
- ● Twist ties or rubber bands (to secure plastic wrap).
- ○ Heat mat (optional, to encourage rooting if chilling isn’t enough).
- ● Label & marker (to track your propagation dates!).
Step-by-Step instructions for propagating an orange tree using layering
This method guarantees strong root growth without the stress of cuttings—ideal for citrus lovers.
Select and Prepare the Parent Tree
Choose a healthy, mature orange tree with flexible branches at least ½ inch thick—thicker branches produce stronger roots. Look for low-hanging limbs that can be bent down without snapping. In early spring, when new growth begins, is the perfect time to start.
Use clean, sharp pruning shears to make a small cut about ¼ inch deep on the underside of the branch where you plan to layer. This small wound will encourage root formation. Avoid cutting into the main branch—just a shallow nick is all you need. I’ve found that branches with some green growth (not fully hardened wood) root best.
Create the Layer and Secure It
Gently bend the branch downward until it’s at a 45-degree angle to the ground. Dig a shallow trench about 3 inches deep and 6 inches long along the branch’s path. This trench will hold the layer in place while roots develop.
Use the rooting hormone (if using) to lightly coat the wounded area before placing it in the trench. Secure the branch with landscape staples or flexible wire, ensuring it stays buried without crushing the stem. Cover the trench with 2-3 inches of moist potting mix, leaving just the tip of the branch exposed. Water lightly to settle the soil around the layer.
Maintain Moisture and Encourage Root Growth
Keep the potting mix around the layer consistently moist—not soggy, but never dry. I check daily by pressing a finger into the soil; if it feels dry past 1 inch deep, water gently. Mulch the area with 1 inch of bark mulch to retain moisture and prevent weeds.
In 4-6 weeks, roots should begin forming. You’ll notice new growth at the tip of the branch and slight resistance when you gently tug on it. If the branch pulls free easily, roots aren’t established yet—wait another 2-3 weeks. Avoid fertilizing during this phase; roots need time to strengthen without competition.
Separate and Transplant the New Tree
Once roots are 3-4 inches long (test by carefully digging around the base), cut the layer from the parent tree with clean shears. Dig up the rooted section, keeping as much soil attached as possible. Transplant it into a 5-gallon pot filled with well-draining potting mix, ensuring the roots aren’t buried too deep.
Place the new tree in bright, indirect light for 2 weeks to acclimate before moving it to full sun. Water deeply once a week, letting the top 2 inches of soil dry between waterings. With patience, your layered orange tree will thrive as an independent plant in 6-12 months.
Tips & tricks for propagating an orange tree using layering
Layering citrus trees is one of those gardening techniques where patience pays off—here's how to maximize your success without common pitfalls.
The Branch Selection Secret: I can't stress enough how important it is to choose branches that are at least ½ inch thick. Thinner branches often struggle to produce strong roots, and you'll end up with weak, underdeveloped trees. Look for branches that are flexible enough to bend without snapping—they're typically younger growth that's more responsive to rooting. In Step 1, when you make that shallow ¼-inch cut, aim for the underside where the branch naturally curves upward. This is where the growth hormones are most concentrated, giving your roots the best chance to form quickly.
Angle Matters More Than You Think: That 45-degree angle in Step 2 isn't arbitrary—it's the perfect balance between stability and exposure. A shallower angle might not anchor well, while a steeper one can stress the branch. When creating your trench, make it just deep enough to hold the branch securely without bending it further. The goal is to maintain that angle while keeping the wounded area covered with moist soil. I've found that using a small wooden stake to mark the trench depth helps maintain consistency, especially if you're working with multiple layers.
Moisture Management is Critical: The "consistently moist" instruction in Step 3 is where many people go wrong. It's tempting to water heavily when the soil looks dry, but citrus roots are sensitive to both drought and waterlogging. I've developed a simple test: press your finger into the soil up to your first knuckle. If it feels dry at that depth, water lightly until it's moist but not saturated. For the first few weeks, I water every other day in hot weather, checking each time. The bark mulch layer acts like a natural moisture regulator—it prevents rapid drying while allowing excess water to evaporate.
Root Development Timeline: The 4-6 week window for root formation can feel like an eternity, but there are visual cues to watch for. In Step 3, when you see new growth at the tip of your layered branch, that's your first sign roots are developing. The real test comes when you gently tug on the branch—if you feel resistance but it still moves slightly, roots are forming but not fully established. If it pulls free easily, you need another 2-3 weeks. I've had success with a simple resistance test: if the branch feels like it's anchored but can still move about ½ inch, roots are typically 2-3 inches long and ready for separation.
Pro Tips for Propagate Orange Tree
- Layering citrus trees is one of those gardening techniques where patience pays off—here's how to maximize your success without common pitfalls.
- The Branch Selection Secret: I can't stress enough how important it is to choose branches that are at least ½ inch thick.
- Angle Matters More Than You Think: That 45-degree angle in Step 2 isn't arbitrary—it's the perfect balance between stability and exposure.
Frequently asked questions
Got questions about propagating your orange tree?
Here are answers to the most common ones—so you can grow confidently without guesswork!
Can I propagate an orange tree from a grocery store fruit?
Unfortunately, no! Store-bought oranges are often treated with growth inhibitors or are hybrids that won’t root easily. Instead, use a healthy branch from a mature, disease-free tree (preferably a seedling or grafted variety like Citrus sinensis). If you’re starting from seed, know it may take 5–10 years to bear fruit—and it won’t be true to the parent tree’s variety.
How long does it take for roots to form using the layered chill method?
With patience, you’ll see roots in 4–12 weeks, depending on temperature, humidity, and tree variety. Keep the soil moist (not soggy!) and monitor for tiny root hairs peeking through the soil. Pro tip: If roots stall after 3 months, gently check by tugging—if resistance is light, give it more time or adjust moisture levels.
What’s the best temperature range for successful propagation?
Ideal temps hover between 65–75°F (18–24°C) during the day and 55–60°F (13–16°C) at night. Avoid extremes: below 50°F (10°C) slows growth, while above 85°F (29°C) can stress the cutting. A cool, shaded greenhouse or indoor setup near a bright window works well in hot climates.
What if my cutting rots instead of rooting?
Rotting usually means too much moisture or poor airflow. First, stop watering and let the soil dry slightly. Next, ensure the cutting’s base isn’t buried—only 1–2 inches of the stem should touch soil. Trim any mushy tissue, dust with cinnamon or fungicide, and replant in fresh, sterile potting mix. Pro tip: Use a fan on low to improve circulation!
Can I propagate other citrus trees (like lemons or limes) the same way?
Yes! The layered chill method works for most citrus—lemons, limes, grapefruits, and even kumquats—but timing varies slightly. For example, lemons root faster (often in 6–8 weeks), while limes may take longer. Just adjust humidity (citrus loves 60–70%) and keep temps consistent. Bonus: Grafting can speed up fruiting for these varieties too!
Wrapping up and next steps
Growing your own orange tree from a cutting is a rewarding journey that blends patience and care—and you’ve got all the tools to succeed! 🌱 The layered chill method simplifies propagation, ensuring strong root growth without the guesswork.
Whether you’re a beginner or a seasoned gardener, every healthy root you nurture is a step closer to fresh, homegrown citrus fruit.
Ready to take the next step? Start with a single cutting and watch your citrus family grow. Share your progress with fellow gardeners—your success might inspire someone else’s green thumb! 🌟